Table of Contents Show
The holidays are just around the corner, and what better way to celebrate than with some festive Christmas nail art? Whether you’re a seasoned pro or a complete beginner, there’s a perfect design out there for you.
In this article, we’ll share some of the best Christmas nail art ideas, along with tips and tricks to help you achieve the perfect look. So get ready to sparkle and shine this holiday season!
How To Do Christmas Nails
Christmas is just around the corner, and what better way to spread holiday cheer than with festive nails? From classic snowman faces to sparkling snowflakes and candy cane stripes, the possibilities are endless. Whether you’re a seasoned nail art enthusiast or just starting, there’s a Christmas design out there waiting to bring your holiday spirit to life.
Festive Nail Art Ideas for All Skill Levels
1. Classic Christmas Colors
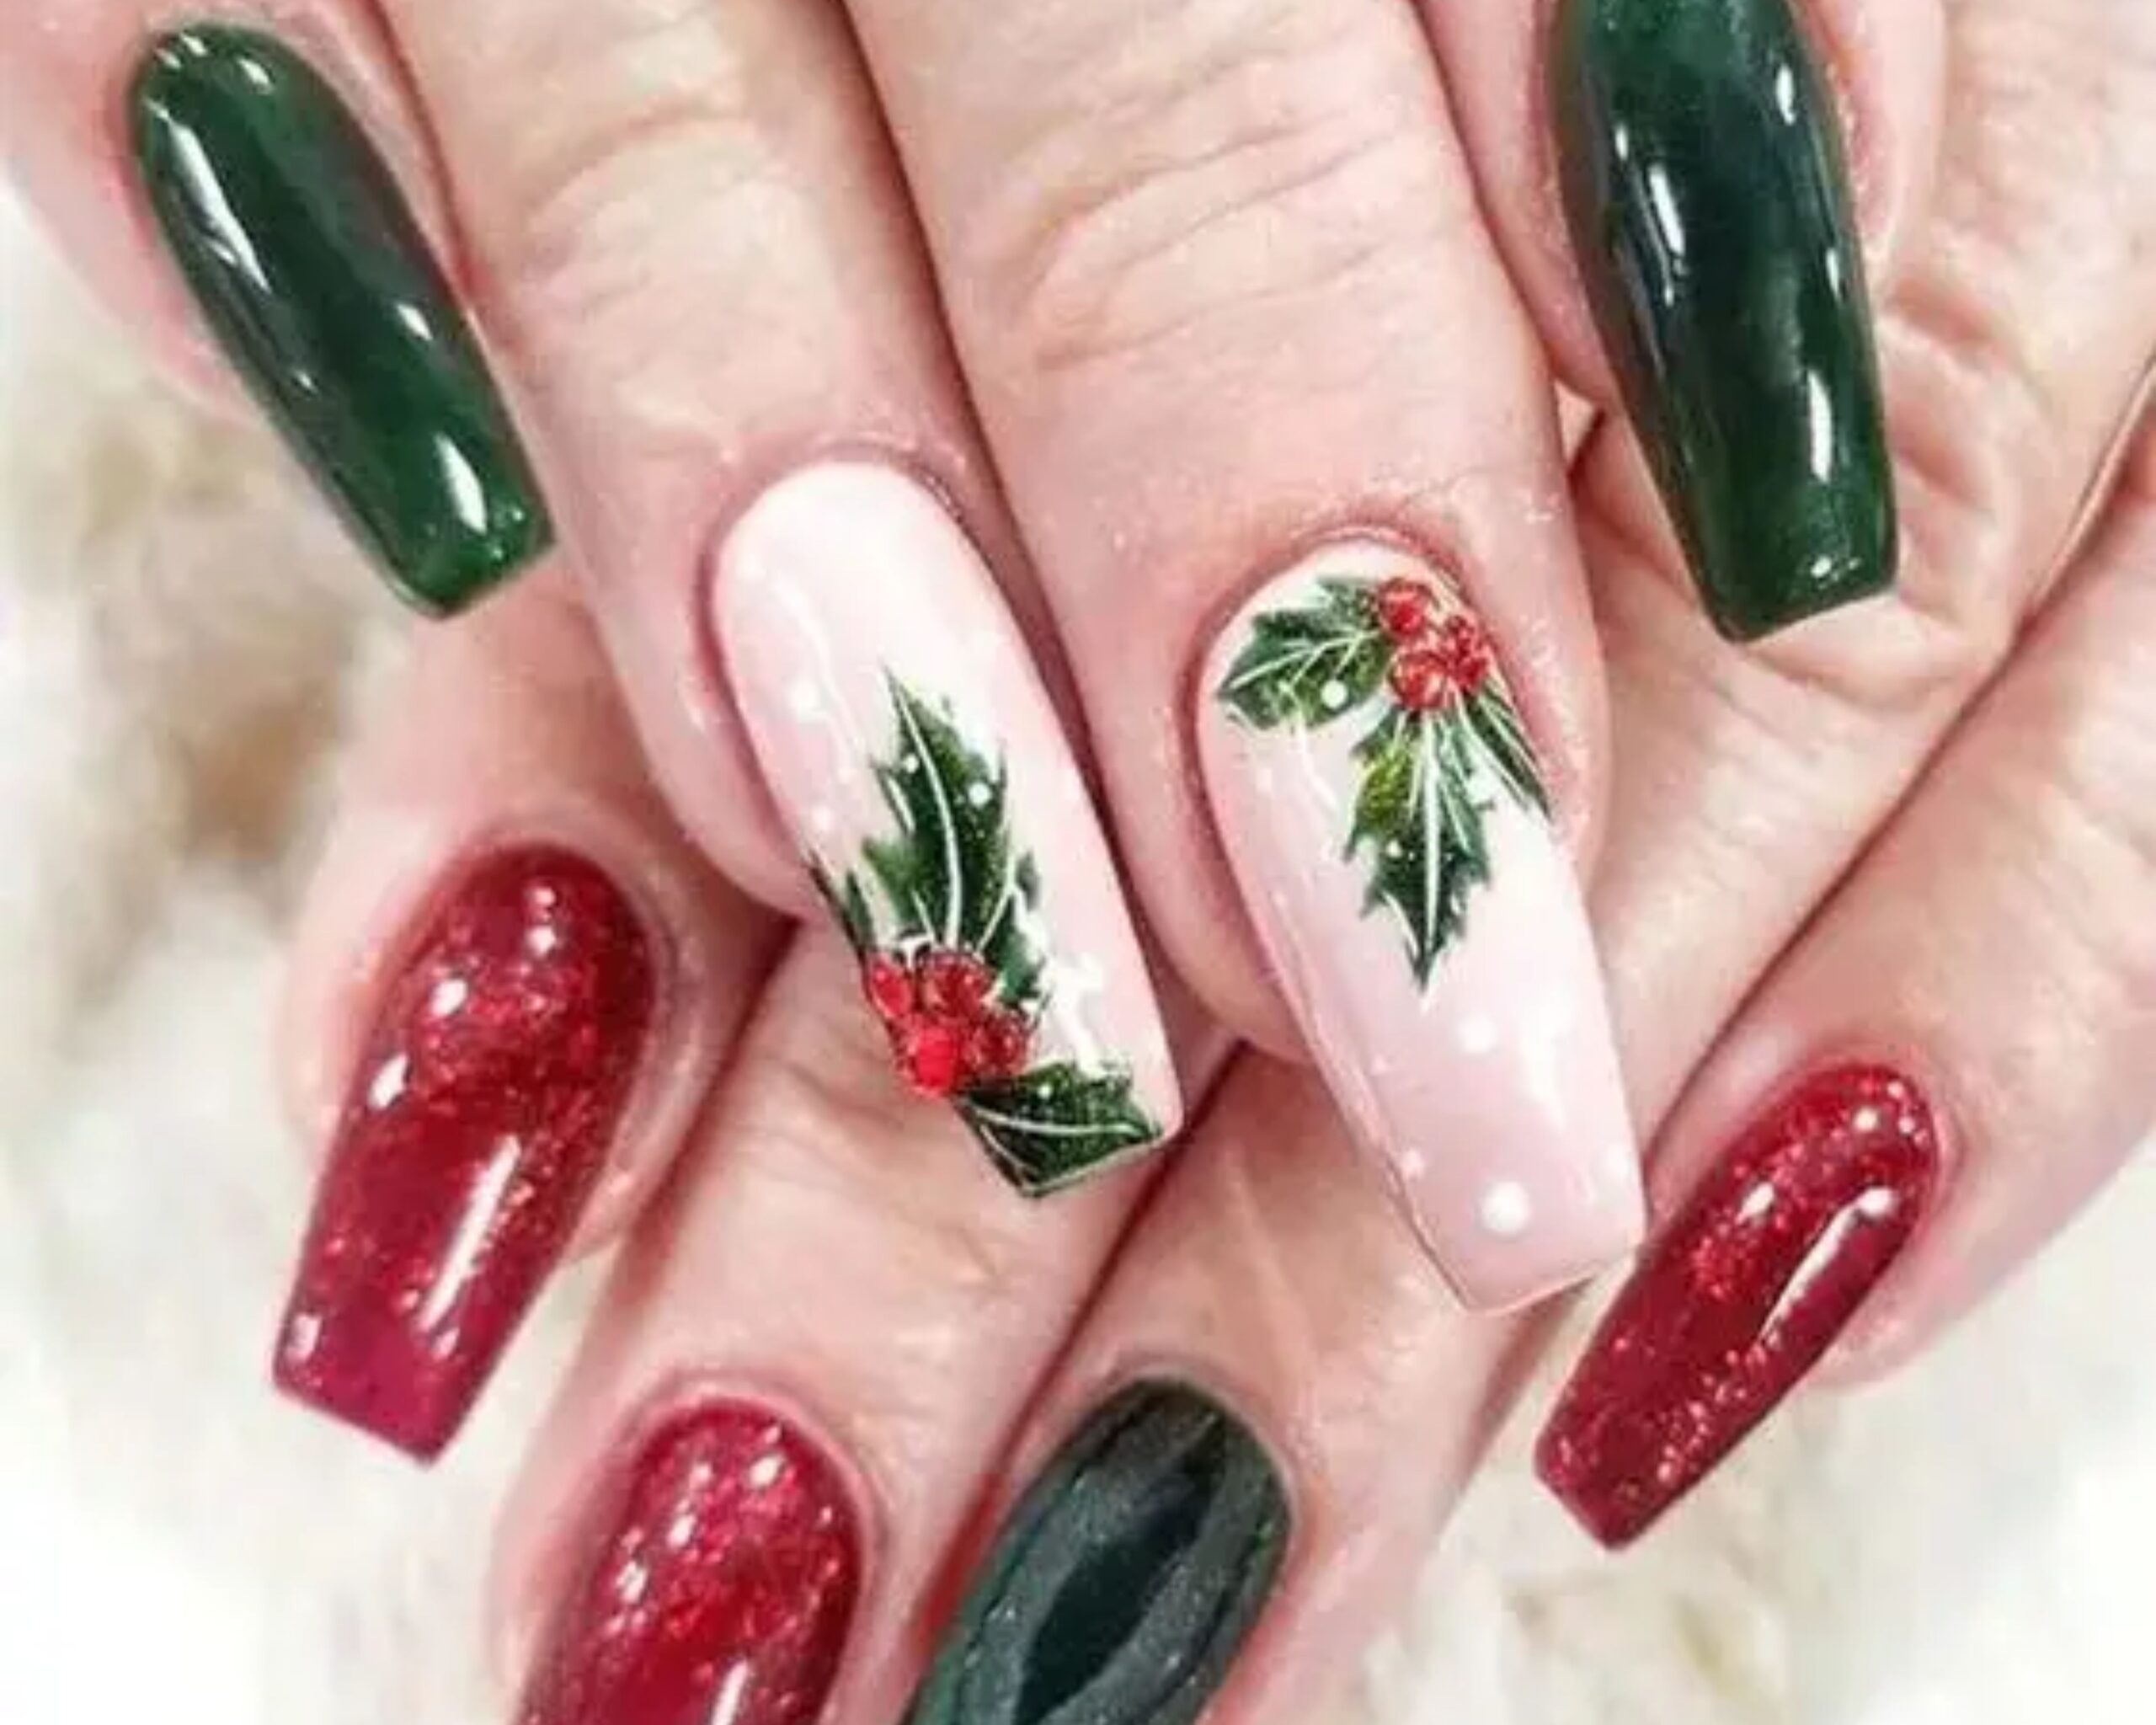
Start with the iconic colours of Christmas: red, green, white, and gold. These colours are versatile and can be used to create various Christmas-themed nail designs. For a simple yet festive look, paint your nails red and green alternately, or create a candy cane design using white stripes on a red background.
2. Sparkling Snowflakes
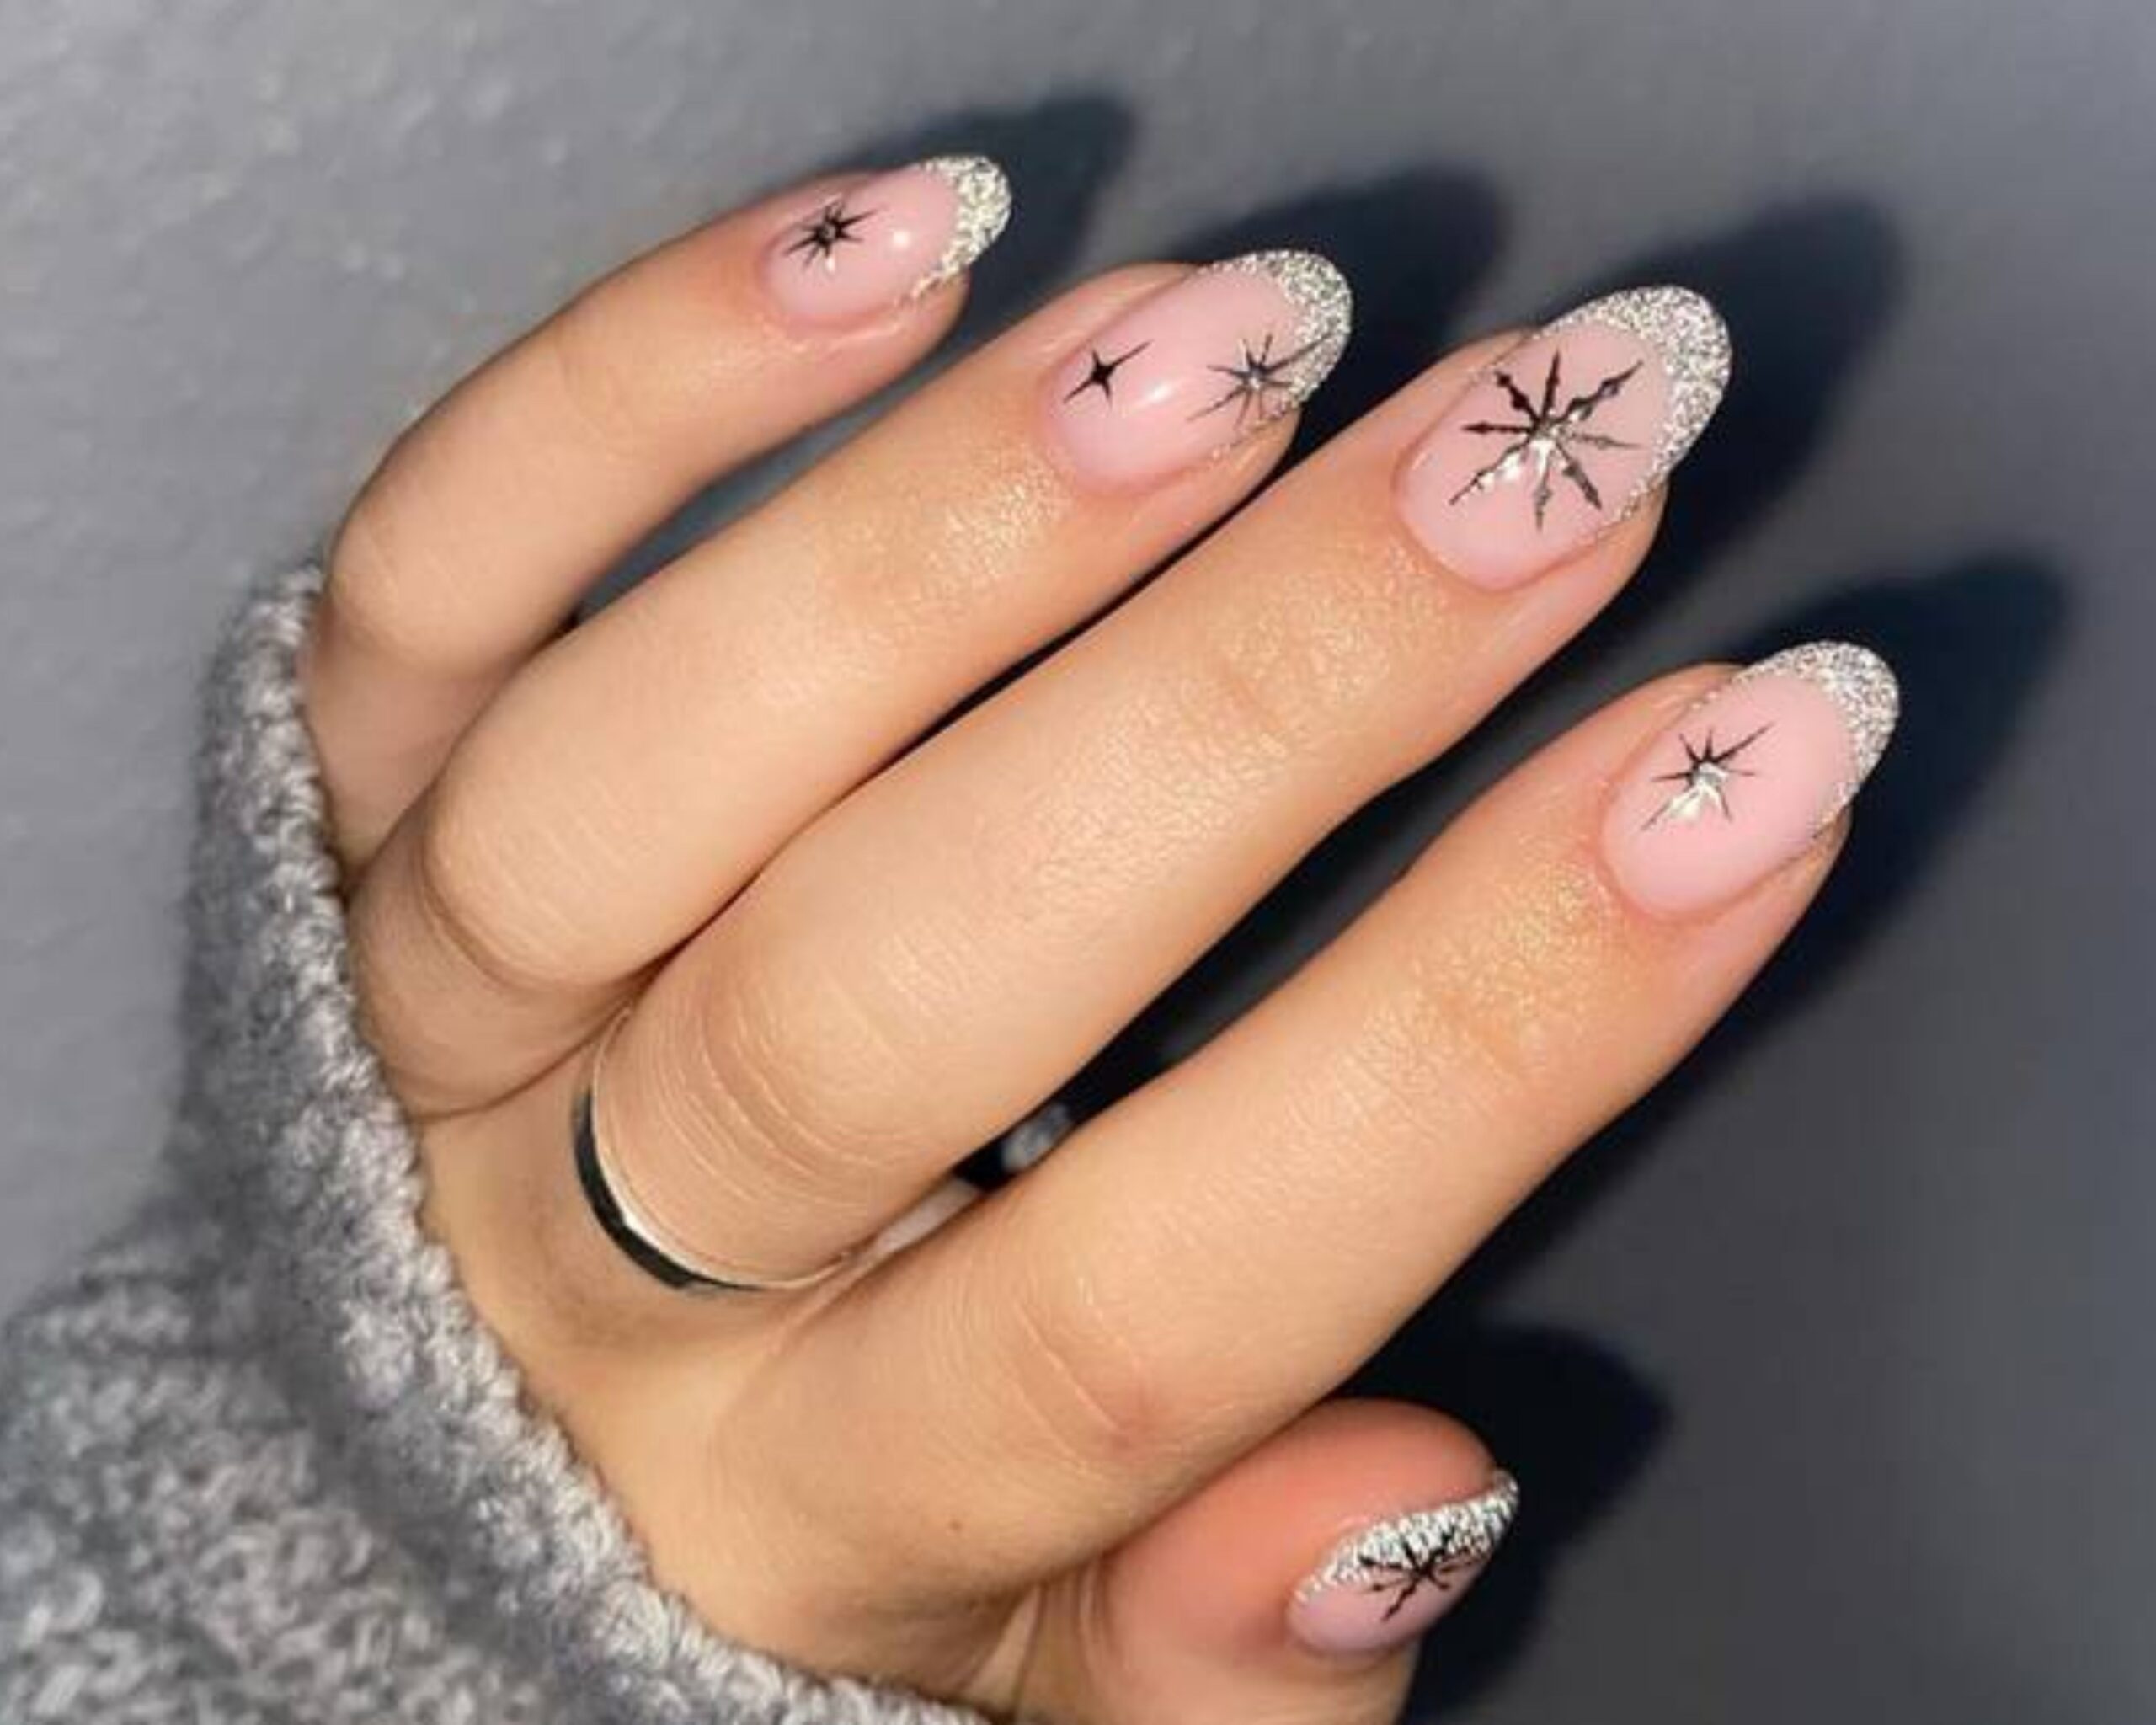
Snowflakes are a quintessential symbol of Christmas, and they make beautiful nail art designs. You can create snowflakes using a dotting tool, a thin brush, or even a toothpick. Add a touch of glitter for extra sparkle.
3. Adorable Reindeer
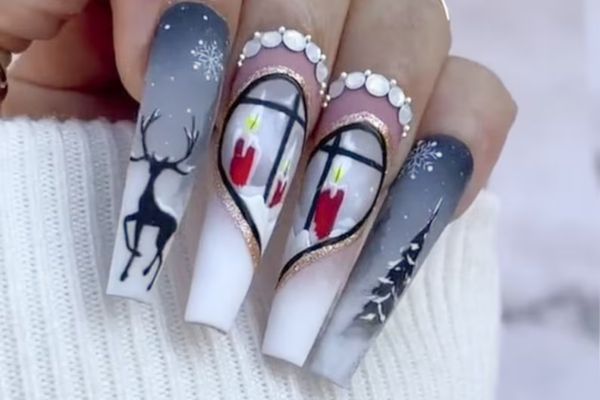
Reindeer are another popular Christmas symbol, and they make cute and easy nail art designs. Paint a brown reindeer head on a white background, or create a silhouette of a reindeer with its antlers. Add a red nose for a festive touch.
4. Charming Snowmen
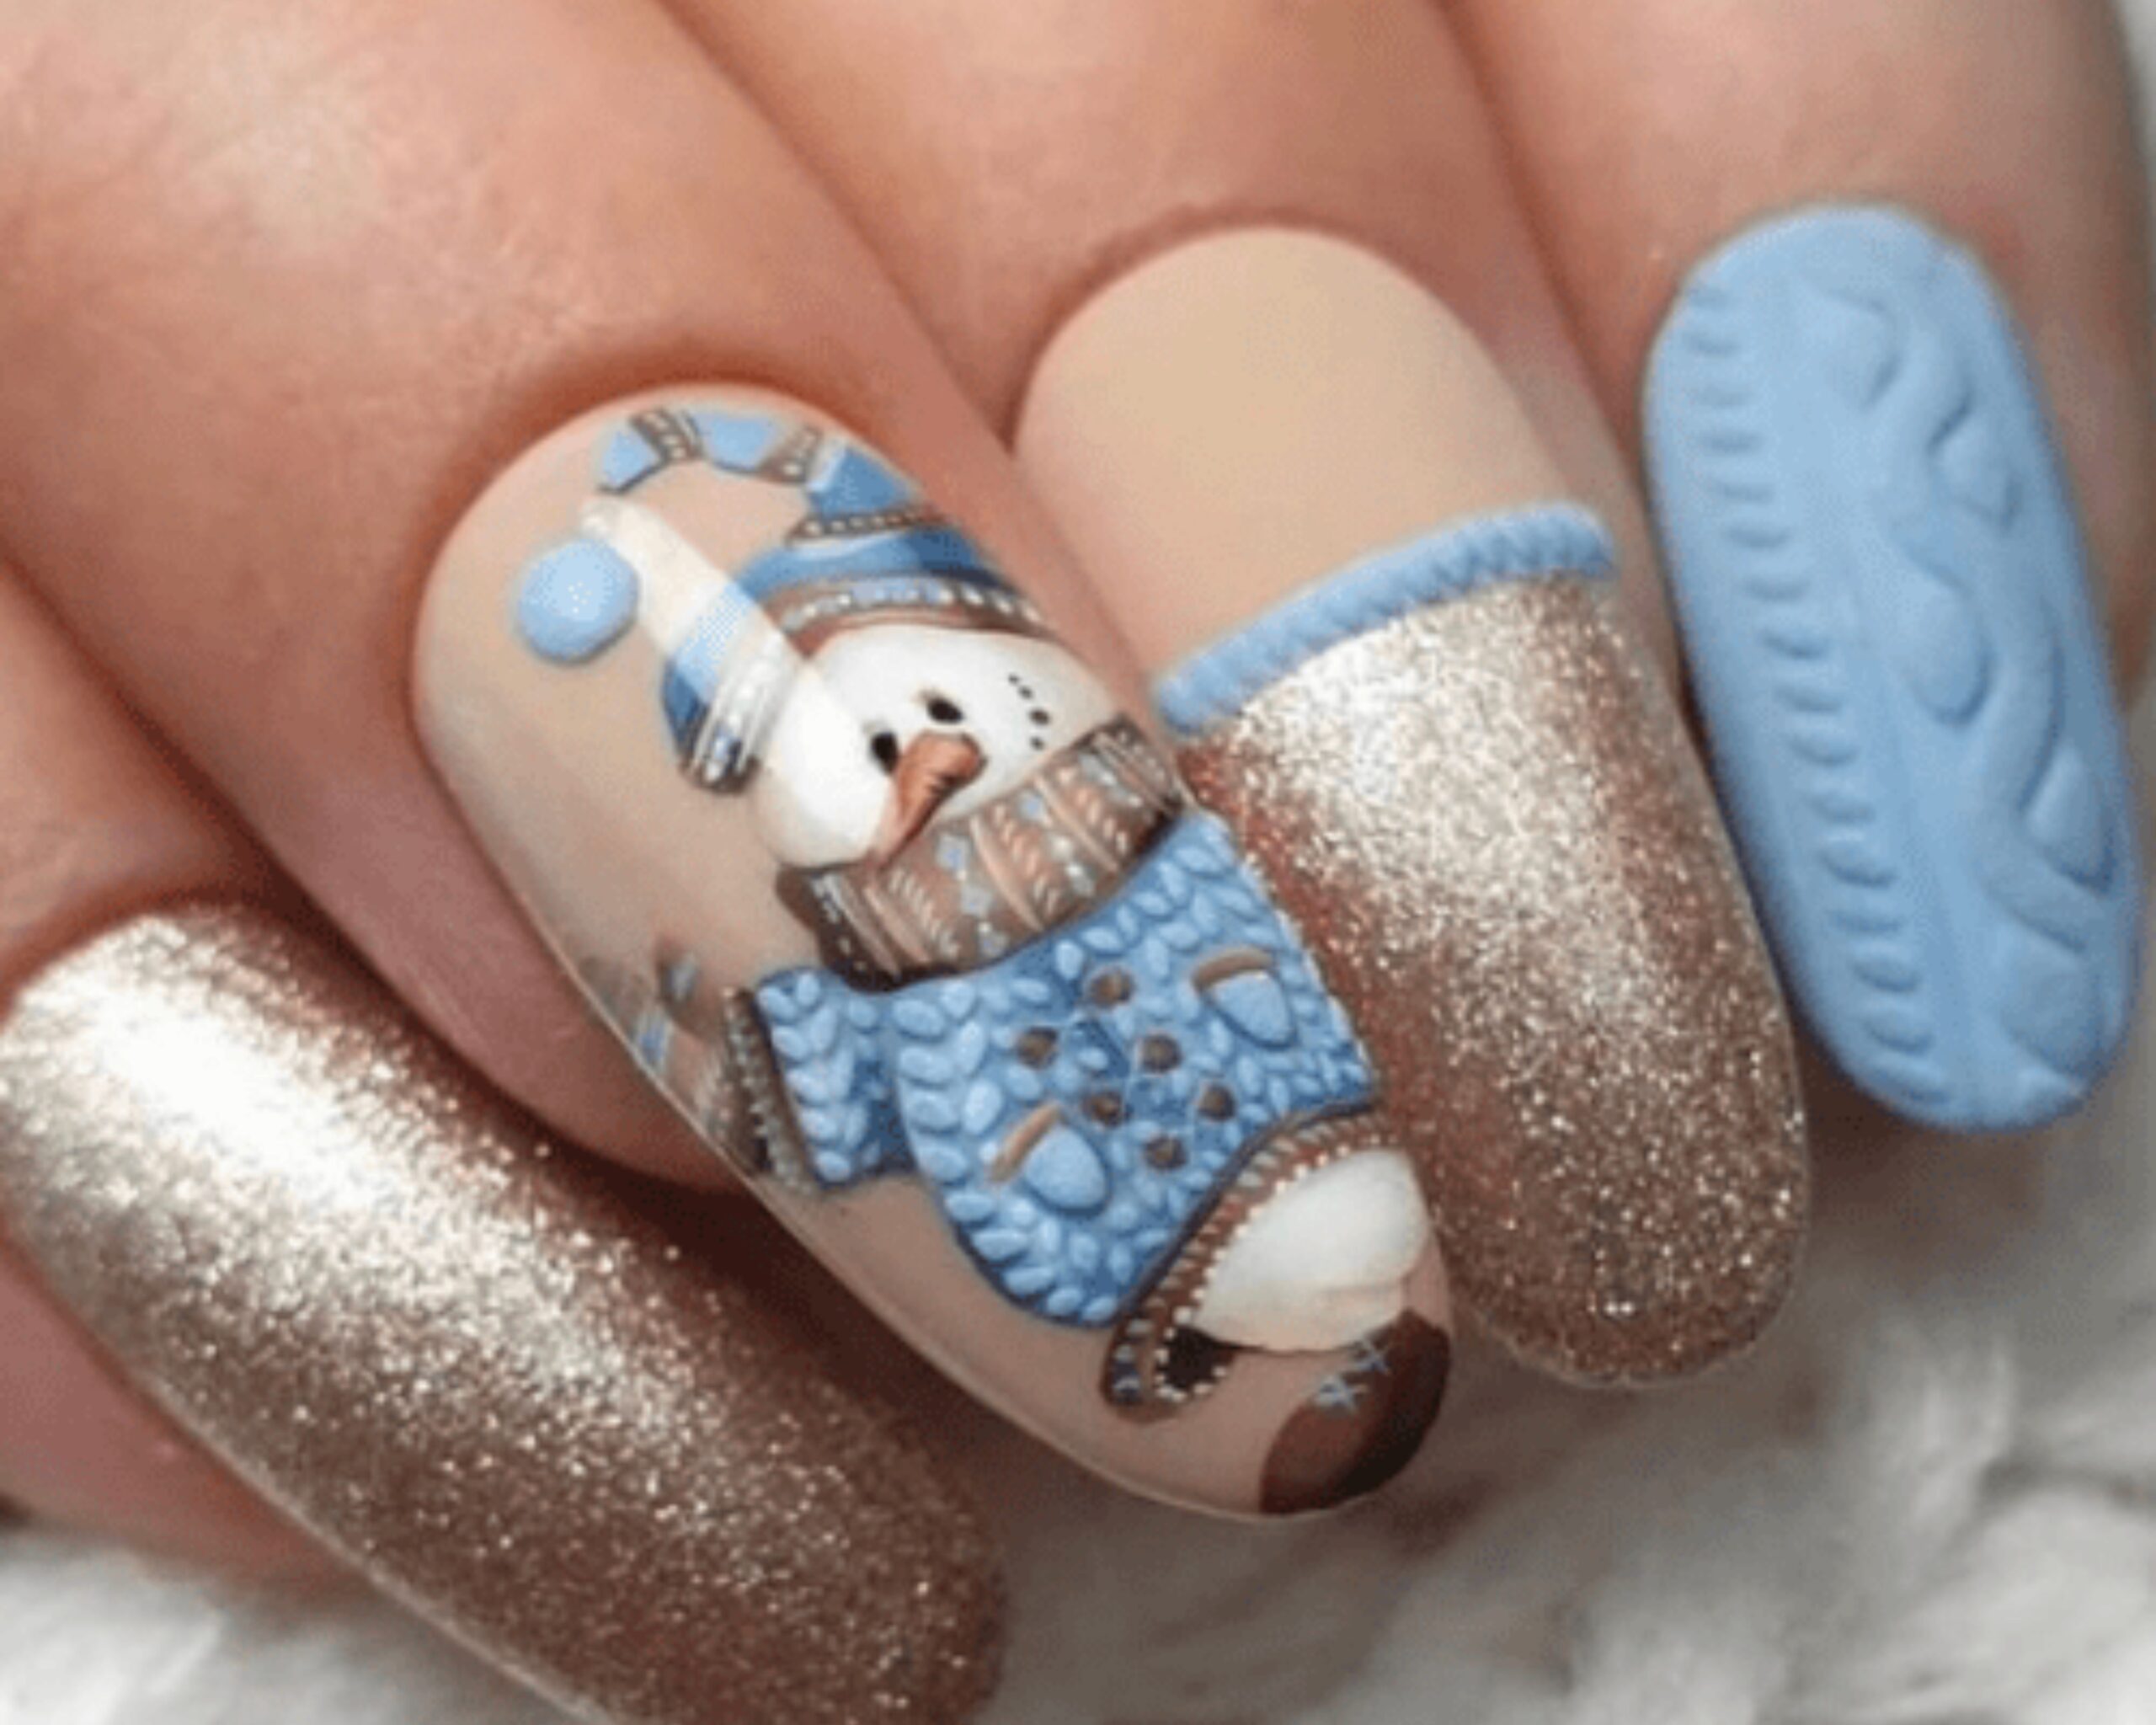
Snowmen are always a hit during Christmas, and they make charming nail art designs. Paint a white snowman with a black hat and scarf on a red background. You can also add other details, such as a carrot nose or buttons.
5. Festive Christmas Trees
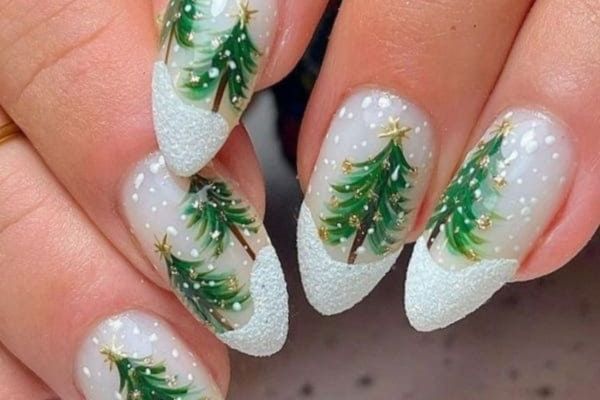
Christmas trees are a symbol of the holiday season, and they make beautiful nail art designs. You can create a simple Christmas tree using a green triangle with a brown trunk and a star on top. Or, for a more detailed design, paint a Christmas tree with ornaments and lights.
6. Sparkling Candy Canes
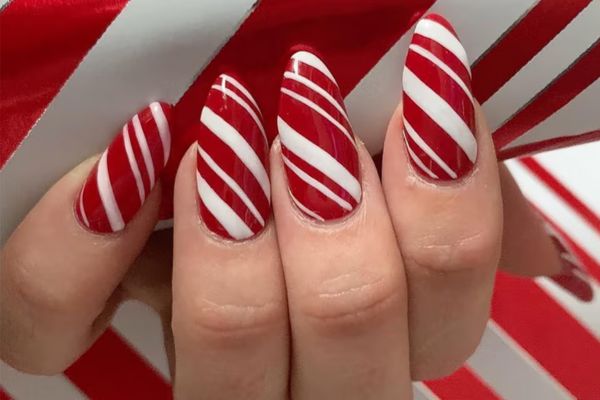
Candy canes are a classic Christmas treat, and they make fun and festive nail art designs. Paint red and white stripes on your nails to create a candy cane effect. You can also add a touch of glitter or a candy cane charm.
7. Merry Christmas Messages
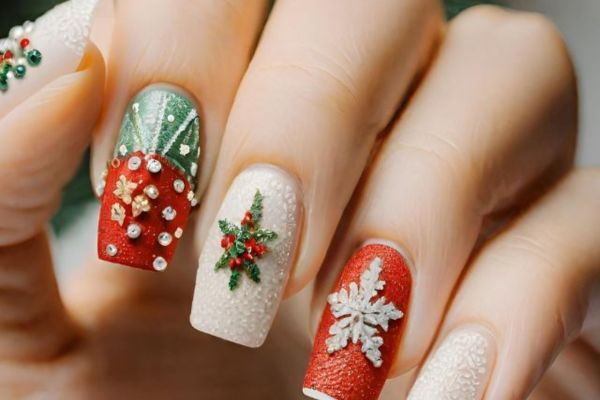
Write a festive message on your nails, such as “Merry Christmas” or “Happy Holidays.” Use a thin brush and your favourite colour of nail polish to create your message.
8. Christmas Nail Art With Glitter
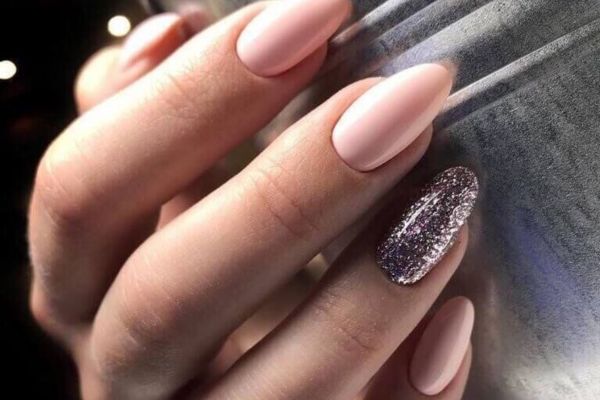
For a touch of glamour, add some glitter to your Christmas nail art. You can use glitter polishes, loose glitter, or even glitter decals.
9. French Tips with a Christmas Twist
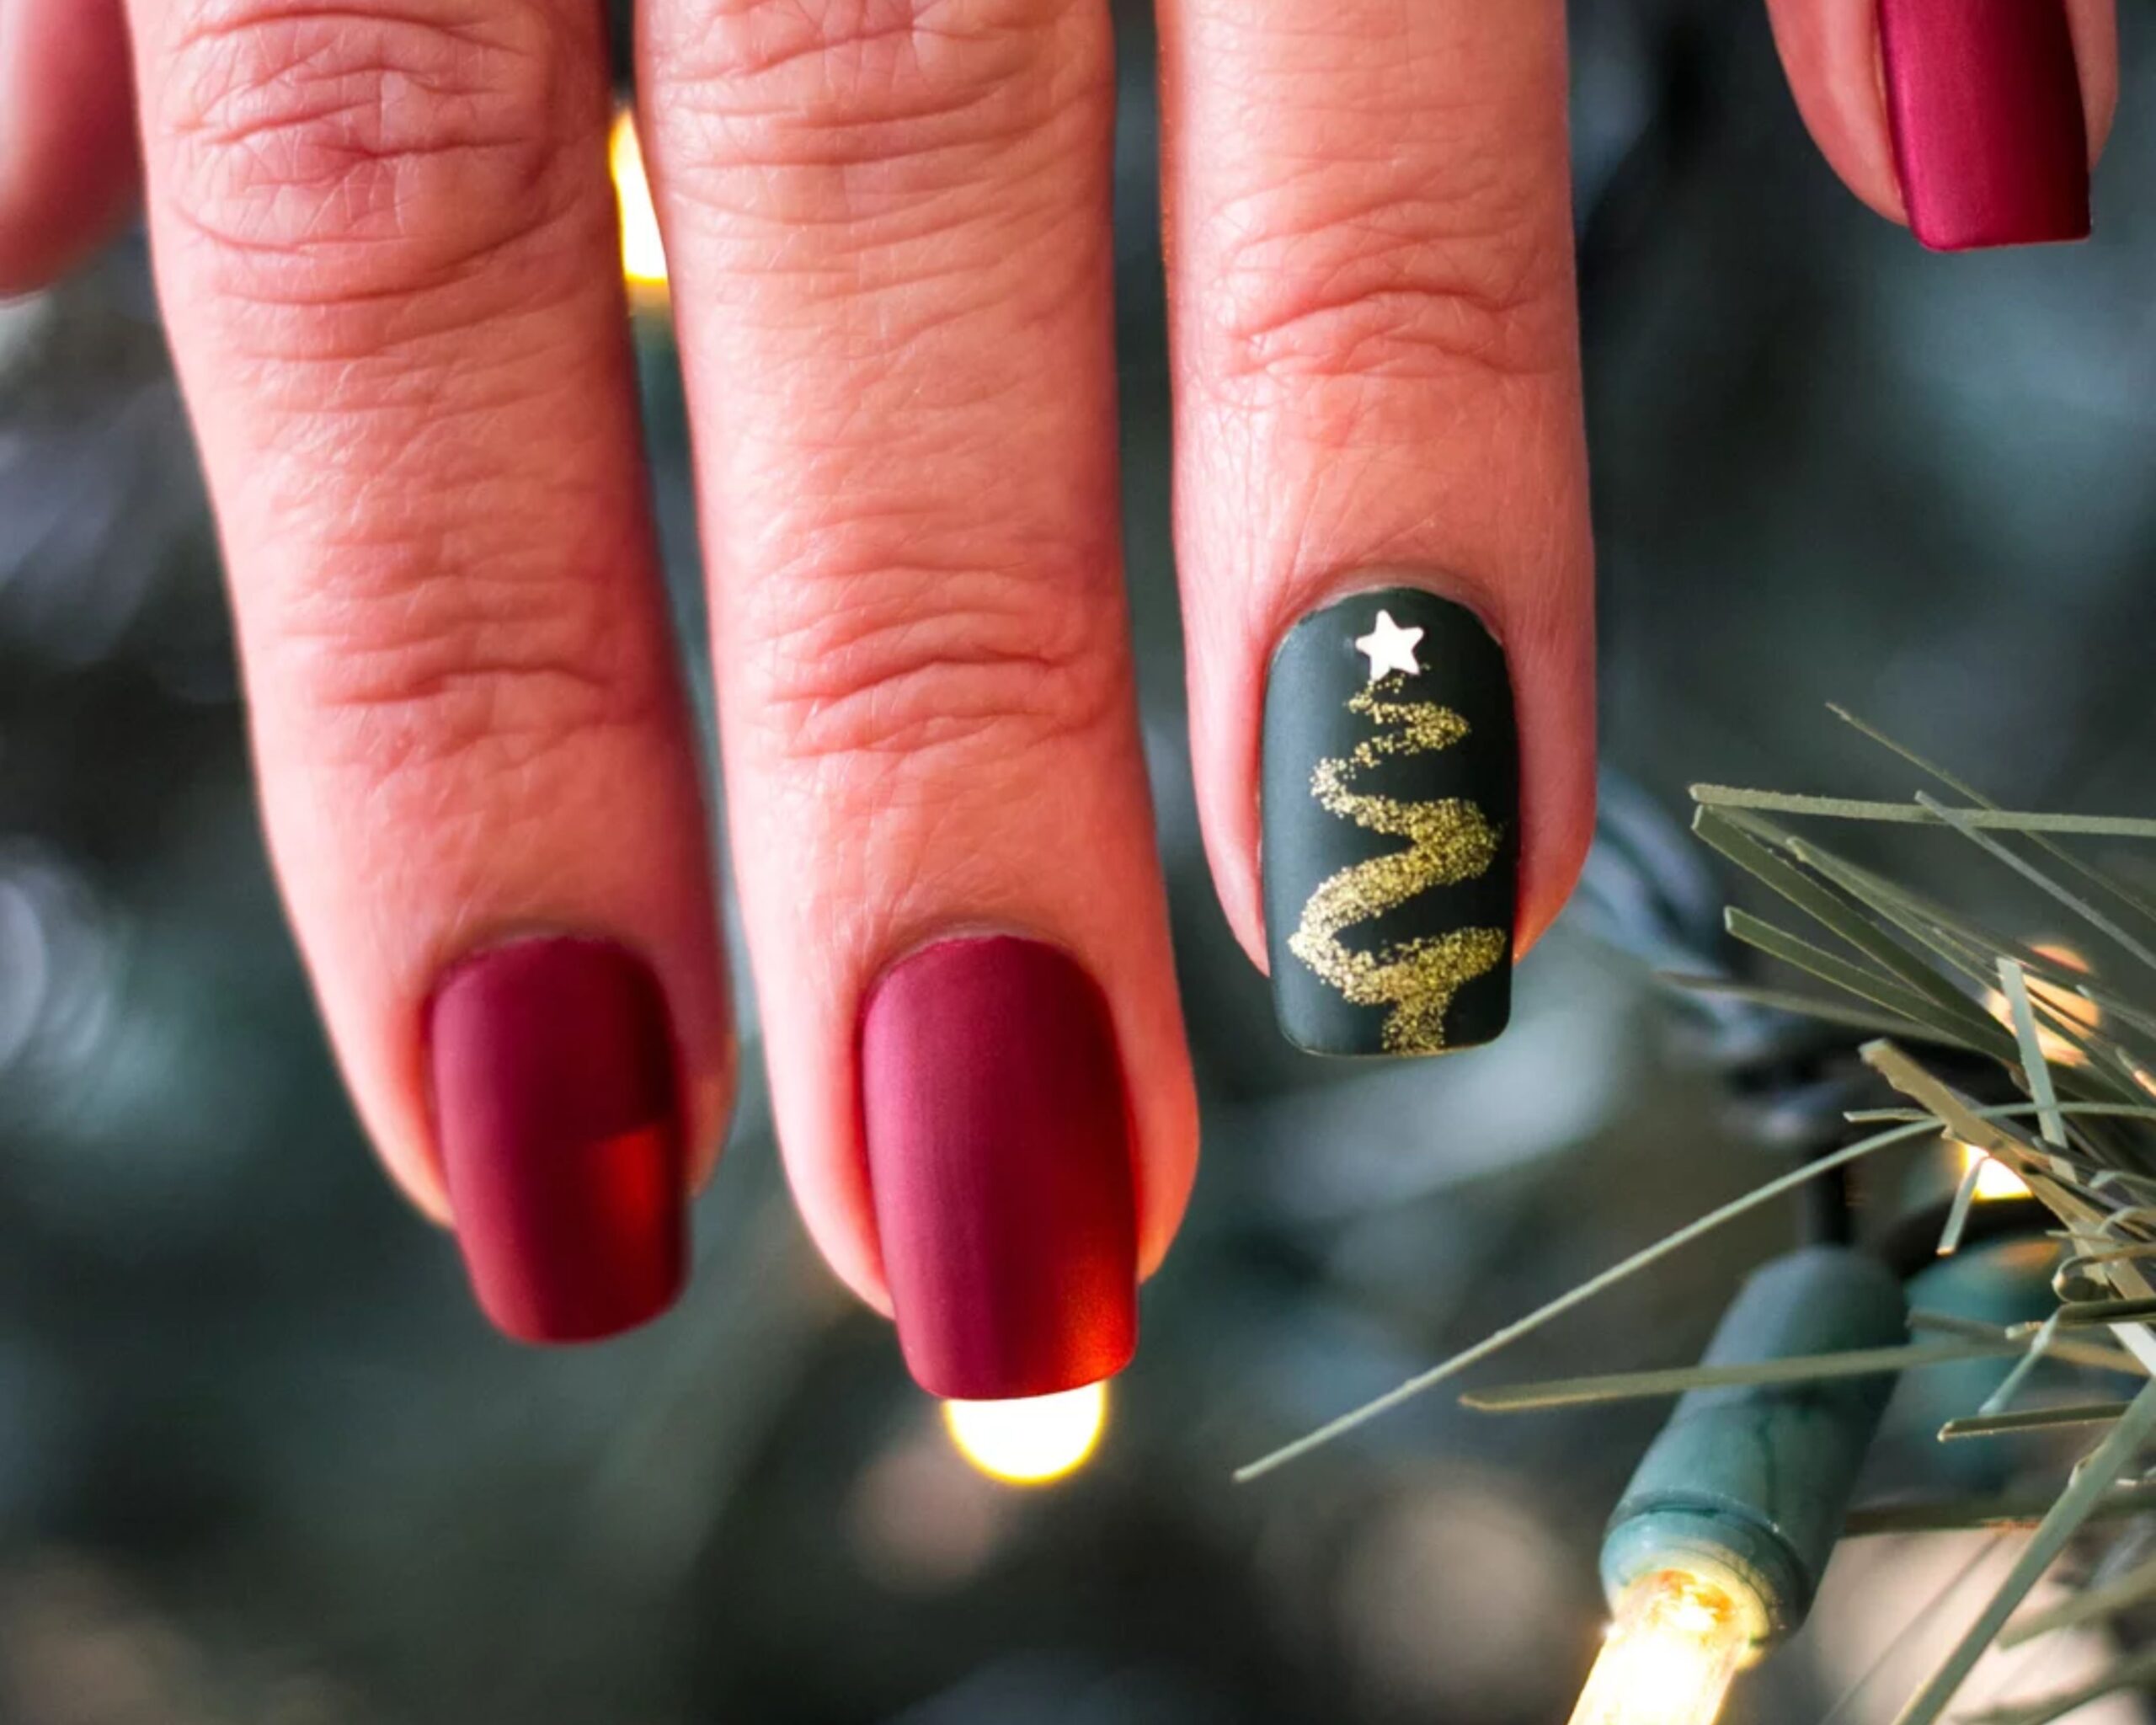
For a classic and elegant look, try French tips with a Christmas twist. Use red or green polish for the tips, or add festive details like snowflakes or candy canes.
Get Creative with Nail Art Accessories
There are many nail art accessories available that can help you create fun and festive Christmas nail designs. Try using nail art decals, rhinestones, or even small charms.
Once you’ve chosen your design, it’s time to gather your supplies.
You’ll need:
- Base coat
- Top coat
- Nail polish in your chosen colours
- Dotting tool
- Toothpick
- Glitter (optional)
- Nail art brushes (optional)
Here are the basic steps for applying Christmas nail art:
- Apply a base coat to your nails. This will help protect your nails and prevent chipping.
- Paint your nails with your chosen colour. You can use one colour, or create a multi-coloured design.
- Add your Christmas details. Use a dotting tool or toothpick to create snowflakes, reindeer antlers, or other designs.
- Add glitter for extra sparkle (optional).
- Apply a top coat to seal your design and make it last longer.
Tips for achieving the perfect Christmas nail art:
- Use a dotting tool or toothpick for precise designs.
- Use a fine-tipped brush for more intricate details.
- Apply thin layers of polish for a smooth finish.
- Clean up any mistakes with a Q-tip dipped in nail polish remover.
- Let each layer of polish dry completely before applying the next layer.
- Seal your design with a top coat for a long-lasting finish.
Conclusion
With a little creativity, you can create beautiful Christmas nail designs that will put everyone in the holiday spirit. So get creative, have fun, and enjoy the festive season!
We hope this article has inspired you to create some amazing Christmas nail art. Remember, there are no rules when it comes to nail art, so let your creativity shine through. And don’t forget to share your creations with us on social media!


